
Your first project
Build your first ZXN Studio project: record a short demonstration, edit separate screen and camera clips, add a title and verify your export.
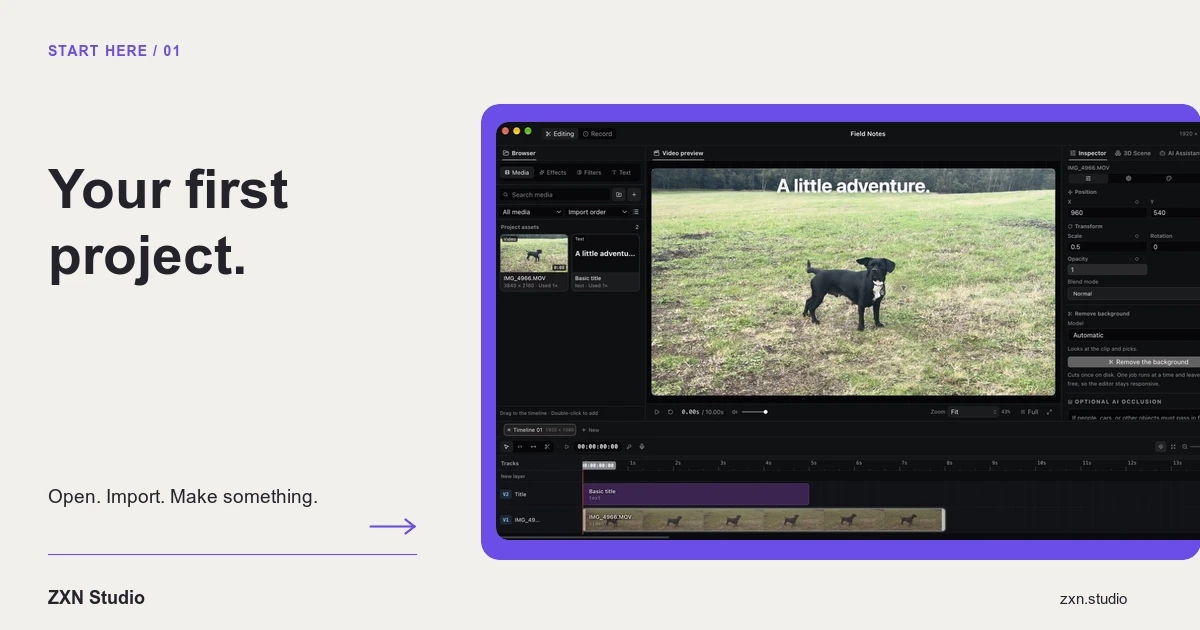
Your first ZXN Studio project should prove one complete workflow: capture something useful, remove what the viewer does not need, then export a file you have actually watched. Start with a short demonstration of one task rather than a full course or launch film. A modest project makes recording, editing and delivery problems easier to isolate.
1. Prepare a project you can finish
Download the current build from the download page and read system requirements. The current native recorder targets macOS 26 or later. That recorder requirement is not a promise about every possible hardware, media or effects combination.
Create a working folder for the project and its source footage. Give recordings descriptive names before you build a complicated timeline. Keep original media available: ZXN Studio supports relinking, but relinking cannot recover a recording that has been deleted.
For this exercise, demonstrate a simple action such as changing a setting and showing the result. Write the starting state, the action and the outcome in three short sentences.
2. Record a usable first take
On Mac, ZXN Studio records the screen, camera and a microphone or audio-interface input. Choose the inputs you intend to use, check the framing and make a short test recording. Speak at your normal presentation volume and perform the actual action, including any scrolling or window changes.
Play the completed test, not just the live preview. Confirm that the right content was captured and that your narration is audible. Current desktop/system-audio capture is Windows-only; hearing an application through your Mac speakers does not mean ZXN Studio will record its internal audio.
Completed screen and camera recordings remain separately editable. You can therefore change the camera's placement during editing rather than committing to its first position. The recording guide covers capture checks in more detail.
3. Assemble the story before styling it
Place the useful screen recording on your timeline and arrange the camera layer where it supports the explanation. Keep the control being demonstrated visible. A presenter covering the relevant button is a composition problem, even when the camera image looks attractive.
Trim the beginning until the demonstration starts promptly. Split around a mistaken sentence or an unnecessary wait, remove the unwanted section and inspect the join. Preserve any pause the viewer needs to understand what changed.
After editing the screen sequence, check the camera and narration against it. Separately editable media gives you flexibility, but it also makes accidental misalignment possible. Play across each join rather than checking only the clip boundaries. See timeline editing for a more systematic approach.
4. Add only the guidance the viewer needs
Add a plain title that names the task or result. Keep it away from interface labels and allow enough time to read it. A title such as 'Choose your export format' is more useful during that action than a repeated product name.
Try a small transform or keyframed move only where it directs attention. Finish the basic edit before experimenting with background removal or elaborate effects. This keeps a creative decision from disguising a timing problem.
Free includes plain titles, six filters, six effects and three camera frames. Studio-only features can be previewed in Free, but preview access does not make them available for Free export.
5. Export an intentionally simple version
For a first Free project, keep recording and export within 1080p at 30 fps and use included features. Choose MP4 with H.264 video and AAC audio when that matches your intended destination's requirements. Current builds also show other export choices; they are explained in exporting your video.
Review any export notice identifying clips that require Studio. Either replace the restricted treatment with an included option or use an appropriate Studio plan. Lowering resolution alone does not resolve a premium effect on a clip.
Open the finished file outside the editor. Check the first and last frames, narration, title readability and every edited join. The exported file, rather than the timeline preview, is the deliverable.
When something is wrong
For missing footage, confirm the original file still exists and relink the correct source. For absent narration, repeat the input test before recording again. For an unexpected visual result, simplify the affected section and export another short test project.
Change one thing at a time so you know what fixed the problem. Keep the working sources until delivery is confirmed.
Finish the loop
A successful first project is a clear, checked video, not a tour of every feature. Once that workflow works, build your next project around a specific improvement: cleaner narration, clearer titles or more deliberate camera placement.