
Editing your timeline
Learn a reliable timeline workflow for trims, splits, layers and keyframes, with checks for sync, missing media and exported results.
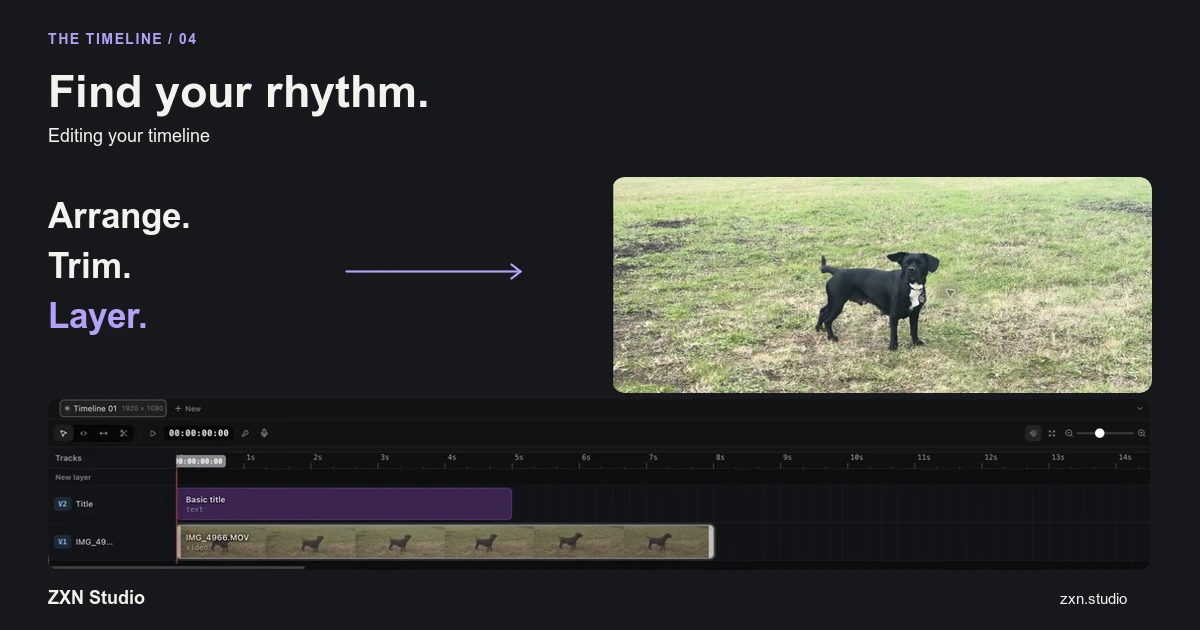
Edit your ZXN Studio timeline in passes: establish the sequence, tighten the cuts, arrange the layers and add movement last. This order keeps a visual flourish from hiding an unclear explanation. The editor supports trims, splits, layers, transforms, opacity, blend modes and keyframes, so a short screen recording can become a deliberately composed video without flattening every element at the outset.
Begin with one question: what must the viewer see and hear at each moment? Use that answer to decide what stays.
Build the sequence before the composition
Arrange the main demonstration in the order the viewer needs. For a tutorial, that might be a starting state, a change and a visible result. For a product showcase, it might be a problem, the relevant action and the outcome.
Watch this basic sequence without decorative layers. Remove duplicated explanations and sections that do not advance the task. Keep enough context to understand where each action happens; a shorter video is not automatically a clearer one.
Keep your original sources organised while you work. If you have not yet completed a recording-to-export cycle, start with your first project.
Trim ends and split internal sections
Use a trim when the unwanted material is at a clip's beginning or end. Use a split when you need a boundary within a clip, such as before and after a mistaken sentence.
Place each cut with both sound and picture in mind. Cutting exactly when a button is pressed can remove the movement that helped the viewer locate it. Cutting into the beginning of a word can make otherwise smooth visuals feel abrupt.
After removing a section, inspect the resulting timeline for unintended gaps or overlaps. Do not assume a deletion moved every other relevant layer correctly. Play from before the join through the next complete action.
Keep related media aligned
Completed screen and camera recordings remain separately editable. This helps with composition, but the relationship between them still needs care when you change timing.
If you remove a pause from the screen sequence, examine the corresponding presenter and narration section. A spoken reference to a control should still coincide with the control being visible. Check again after moving later clips, because one local change can affect the meaning of the following explanation.
For a quick diagnostic, choose a clear spoken action near the beginning and another near the end. Verify both against the image rather than trusting a single synchronisation point.
Compose with layers and transforms
Arrange the main screen footage, camera and titles so their visual priority matches their purpose. Use transforms to position and scale elements. A camera layer should support the demonstration rather than obscure the content the viewer needs to read.
Opacity controls how strongly a layer appears, while blend modes change how it combines visually with the content underneath. Start with an ordinary opaque presentation. Introduce blending only when you can explain the intended result.
When a layer unexpectedly disappears or changes appearance, check its timing, position, scale, opacity and relationship to other layers before assuming the media is broken.
Add keyframes with a clear destination
Use keyframes on supported properties when an element needs to change over time. Establish the starting state, move to the intended finishing moment and set the destination state. Then review the entire movement, not just the endpoints.
For example, a screen detail might need emphasis while a setting is explained. Keep the destination readable and avoid moving the presenter across the same area at the same time. One purposeful movement is easier to follow than several competing ones.
Recheck keyframes after trimming or moving the affected clip. Confirm that the motion still begins and ends at meaningful moments in the revised explanation.
Add treatments after timing is stable
Apply background removal when separating a subject improves the composition, and use titles and colour to clarify the message or balance footage. Evaluate effects in context rather than choosing them from an isolated preview.
Free includes the full editor with a defined set of included treatments. Studio-only features can be previewed in Free, but export identifies clips that require Studio. Keep that distinction visible in your decisions so a late export check does not become a redesign.
Recover sources and verify the result
If media is missing, locate the original file and use relinking to reconnect it. Match the actual take, not merely a similarly named replacement, then inspect the cuts again.
For uneven preview playback or a questionable effect, export a short representative test project. Compare the rendered file with the intended result before drawing conclusions about delivery quality.
Finish with a complete playback of the export. The edit is ready when its joins, layers and movement explain the subject cleanly from beginning to end.