
Background removal
Remove a subject’s background locally, choose an appropriate model and correct difficult edges without confusing preview access with export rights.
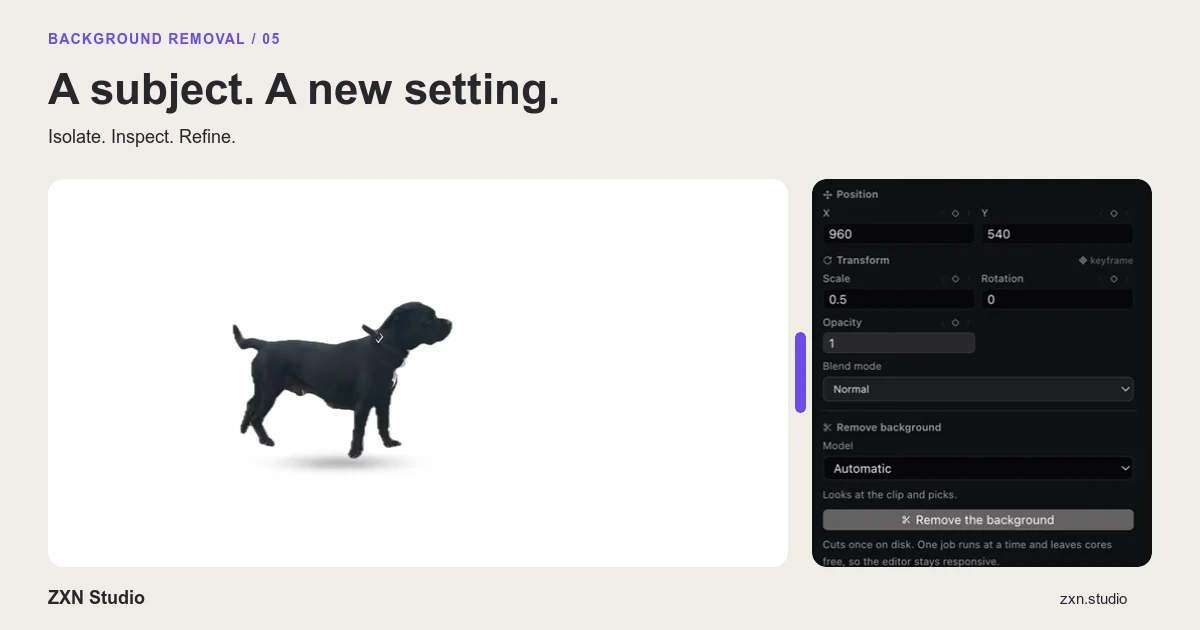
Background removal in ZXN Studio separates a subject from its surroundings so you can place it over other footage or a different background. The processing is local, with subject-appropriate models and correction controls. A convincing result depends on choosing the right model, checking movement and composing the separated subject carefully, not simply enabling the effect.
Free includes people background removal using RVM. Studio adds all cutout models and live background removal. Studio-only features may be previewed in Free, but export identifies clips that require Studio.
Start with a representative section
Choose a section containing the difficult parts of the shot: turning heads, moving hands, loose hair or an object crossing the subject. A motionless frame can make a treatment look reliable while hiding problems that appear immediately during playback.
Keep the original source available. Decide what needs to remain visible before applying removal. For a presenter, that may include hands used to explain something; for another subject, the outline and important details may differ.
If you are still recording, leave space around the subject and avoid placing important details directly against a visually similar background. A short test take is more useful than assuming correction will fix every capture problem.
Choose a model for the actual subject
Select the clip and use the background-removal controls available in your build. Choose a model intended for the subject you are separating. RVM is the people-removal option included in Free; do not treat that inclusion as a promise of equivalent results for animals, products or every kind of scene.
When a model requires a download, complete that setup before judging whether processing works. Optional AI/Codex services are separate and may have their own account or charge requirements; they should not be confused with the entitlement to a particular local cutout model.
For availability and plan details, check plans and billing.
Judge the silhouette before styling
Place the subject over an uncomplicated background and examine its outline. Check both material that should remain and surroundings that should disappear. An edge can look smooth while still removing part of a hand or retaining a patch of the original room.
Use the correction controls to address the specific problem you can see. Make one adjustment at a time and compare the same section again. Avoid a large global change merely because it improves one isolated frame.
Then return to normal viewing size. Corrections should serve the final composition, not create an unnaturally hard outline that only looks tidy when heavily magnified.
Check motion, not just individual frames
Play through the chosen section and watch for edges that pulse, details that vanish and background fragments that briefly return. Pay particular attention when the subject changes direction or overlaps another object.
Pause around a failure to identify where it begins, but also watch through it at ordinary speed. A technically imperfect frame may be unobtrusive in context, while a small repeated flicker can remain distracting throughout a shot.
If a correction makes one moment better and another worse, reconsider the model or the shot. A simpler composition, a different take or retaining the original background may produce a clearer video than forcing an unsuitable cutout.
Make the subject belong in the composition
Arrange the replacement footage beneath the subject and check scale, position and visual priority. A presenter should not obscure the part of the screen they are explaining. Leave enough room for natural movement without sending hands outside the final frame.
Use colour corrections to reduce distracting differences between the subject and the surrounding composition. Do not expect colour changes to repair missing edges; separation and colour balance solve different problems.
Studio includes depth occlusion, 3D surfaces and motion tracking, but none is required for a useful cutout. Establish a readable flat composition before adding spatial complexity.
Separate local preview from delivered output
A live or timeline preview is an editing aid, not proof that every frame of an exported video has been checked. Render a short representative test project using the intended output settings and inspect the result outside the editor.
If export reports that a clip requires Studio, review its selected model and other treatments. A Free-compatible resolution does not make a Studio-only model eligible for Free export.
Background removal also does not establish transparent-video delivery support. Confirm any required alpha-channel workflow with an actual export and the receiving application rather than inferring it from a transparent-looking preview. See export options.
Know when to stop correcting
Finish when the subject remains recognisable, the movement is stable enough for the intended use and the composition communicates clearly. The cutout checklist provides a finishing review. Keep the source and project so you can revisit the treatment without starting from an exported composite.